|
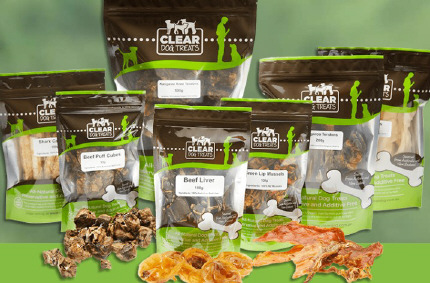
Our Mum doesn't make all our treats herself, a lot of them she buys online
from www.Cleardog.com.au. Due to Indie's allergies she pretty much only buys the fish-type treats
nowadays, and at Cleardog all the fish is sourced from either Australia or NZ
which Mum says is probably better.
ALL of the Cleardog treats are just dried stuff - no additives of any
kind.
It has to be said though, given a choice between Mum's home-made treats and
the shop-bought ones, we'll take Mum's treats every time!
PLEASE REMEMBER:
Home-made treats don't contain any preservatives, so once
defrosted they will go mouldy (or worse!) if not consumed within 24 hours (or
less!). Four of us dogs live with Mum (and Dad), if you have fewer in your house you may want to make smaller
packs.
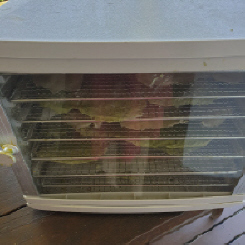
If you're going to make treats on a regular basis our Mum strongly
recommends buying a dehydrator with stainless steel trays. Experience has
taught her that the plastic trays start to disintegrate within a short
period of regular use and the replacement trays cost almost as much as a
new cheap dehydrator.
We use a Devanti 8 Tray Dehydrator without timer. We're
retired, so checking progress every couple of hours is not a chore for us.
If you work, you may wish to invest in a model with timer. As with
everything do an internet search for best prices and don't forget to
factor-in postage costs. Mum does suggest that before buying "new",
you should check out Gumtree and Facebook
Marketplace in your area for a second-hand unit. Seems a lot of people buy
dehydrators with the very best of intentions, use them a couple of times,
then put them in the cupboard for months/years before selling for a
fraction of "new" price - their loss, our gain!
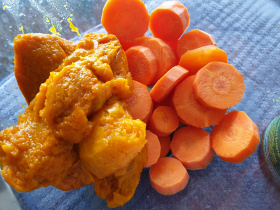
we don't have a recipe as
such, but in the meat example which was our favourite before Indie-Dog went all
"major allergic" on us, our Mum has used:
a small peeled and chopped raw carrot,
a
piece of cooked pumpkin (left over from Sunday lunch),
a handful of chopped
raw cabbage,
about 400g of beef mince*,
about 200g kangaroo mince*,
about 300g chopped
beef heart* (including fat),
handful of chicken breast meat, minced * (from a rooster
that attacked Mum in the pen and so sealed his fate!)
a measure of hemp seed
protein,
teaspoon coconut oil,
a measure of turmericle
In other mixes, our Mum used Lambs Fry (lambs liver to fellow Poms), Kangaroo mince, a little left
over cooked duck from Sunday lunch, left over fish (no bones!),
turkey and goat if Mum could get her hands on the latter two at a reasonable
price. Be aware if you put too much liver in the mix it will be quite sloppy so
you'll need to don the gloves and spread by hand. Just
experiment and see what your fur-baby likes best.
raw carrots with cooked pumpkin, green mush, probiotics, green apple,
slippery elm and white fish
As Indie-Dog has so many allergies she isn't allowed any of the meaty treats
nowadays, other than lambs liver with slippery elm. The slippery elm not only
helps to bind the mix so it's easier for Mum to spread out, it's very soothing
for sensitive tummies. Mum also dries sardines, but she has to
gut and debone them (and any other whole fish) before dehydrating as Indie's tummy is SO very sensitive that the
tiny dried bones make her vomit. Without the bones she's fine though. They
totally stink when drying too, so Mum gets Dad to carry the dryer outside
and put it on the verandah table.
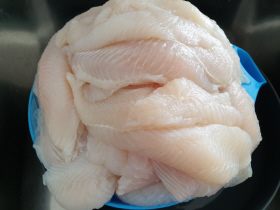
Unfortunately Cleardog don't debone their whole fish (Mum doesn't know if they
gut them either) so she has to DIY if we want sardines etc. None of us
will eat tinned sardines, but we love the fresh ones that Mum cleans, debones
and then cooks for her and Dad sometimes - which she says it bloody typical!
* all meat used is raw unless stated
otherwise
most
veggies are lightly steamed so they will mash well
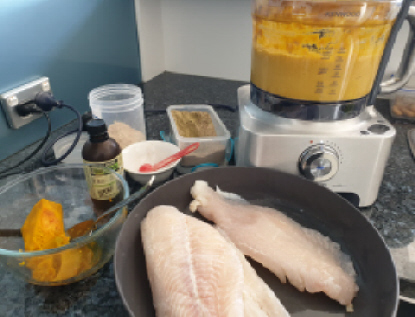
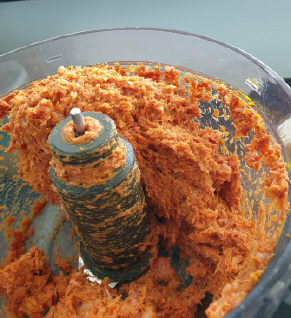
First place your veggies in the food processor
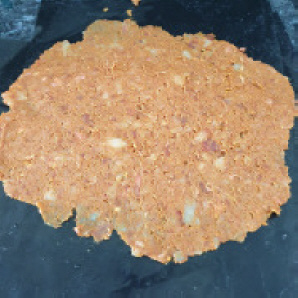
and chop on high until finely ground. Then add remaining ingredients and
continue chopping until your mix looks something like the picture left (fish
mix) and right (meat mix). If it's too wet you won't be able to roll out - but don't worry you can
spread by hand (that bit is coming)
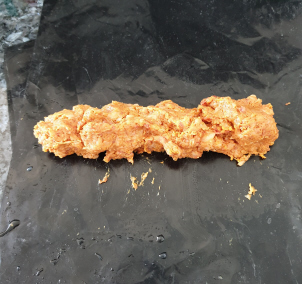 |
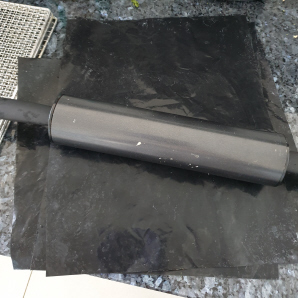
For meat treats, take a handful or so of the mix
and place on your silicon sheet (or non stick baking paper cut to size) in a
sausage as pictured. Don't go too close to the edges or it will squish out
when you roll it - although that's not a disaster as you can just wipe it
off and splat it down on a vacant bit of non-stick surface.
Fish mixes can only be spread by hand as they are too wet for rolling
(see below). |
Place another silicon sheet on top of your meat sausage and
roll out (below left). The thinner you get your mix, the quicker it will dehydrate. If using
baking paper then Mum suggests spreading by hand as the paper tends to
stick to the mix when rolled.
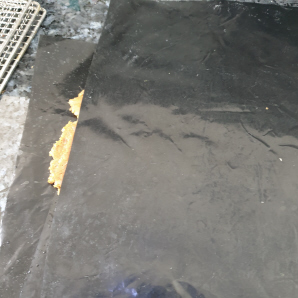
Middle photo below is an example of rolling out beyond the edges of the
silicon, which our Mum did a lot! The photo below right shows what you will see when you peel off the top layer of silicon. If mix was too wet and has stuck to both sheets, don't
worry, just scrape it off the top piece and spread it on the bottom piece by hand.
Note that very thin and dry sheets
won't cut into uniform pieces, but they WILL last longer once defrosted.
Examples are shown in the video links at bottom of page.
When using fish mixes like the photo above left keep your hand dampened as that makes spreading the mix much easier. If you keep
a container of water handy next to where you are working you won't have to keep
dashing to the kitchen sink to wet your hand.
The addition of some slippery elm to the mix is not only good for sensitive
tummies like Indie and Muppet both have, but also give the mix a very slight
"rubbery" texture which is easier to spread with a damp hand.
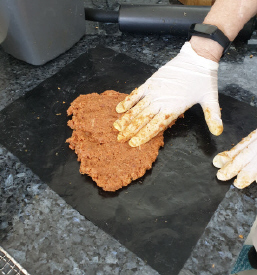
Above right is an example of squishing a
meat mix out by hand. Our Mum uses kitchen gloves cos she doesn't eat red meat so
squishing it with a naked hand makes her feel a bit on the queasy side.
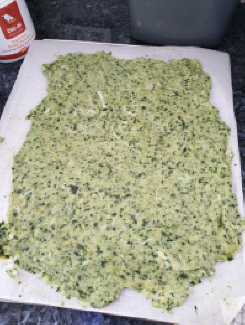
Above left
is fish with minced broccoli and hemp oil on baking paper.
We also get fish with pumpkin, probiotic powder and hemp seed powder and a whole range of other
veggies as this is pretty much the only way we will eat veggies at all!
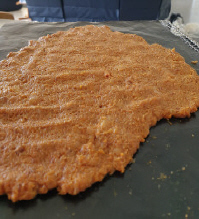
In the middle is a meat mix that's been rolled out with a rolling pin, whilst
far right shows a hand-spread meat mix.
You can see how the one shaped
by hand is thicker than the one rolled with a rolling pin. You might be able to get it as
thin as the fish mix with a damp hand - Mum doesn't know because she didn't
think to try that when she was making meat treats; which she doesn't any more on
account of Indie and her allergies!
The thick one stays quite bendy when ready so it's a good thickness to be able to cut
into uniform(ish) pieces. The thinner ones
are brittle so break into funny shaped pieces.
 When
mixture is spread to your liking, slide the silicon sheet (or baking paper) onto
the dehydrator tray as you can see in the middle picture above. Then it's into
the dehydrator like the picture to the right. When
mixture is spread to your liking, slide the silicon sheet (or baking paper) onto
the dehydrator tray as you can see in the middle picture above. Then it's into
the dehydrator like the picture to the right.
Set temp
to "meat" setting even for the fish mix.
Mum noticed that our dehydrator seems to work
faster on the bottom trays, so that's where she puts our thick mix so they are
ready about the same time or shortly after the thin ones.
Be aware that if you've used liver of any
description this STINKS as it dries. Our Mum does not like that
smell at all so she always puts our dehydrator out on the verandah table for the
duration so it doesn't stink up the house.
Sardines also pong terribly when drying.
Our Mum guts and debones sardines before dehydrating as Indie has a very
sensitive tummy and fine bones make her up-chuck. For most dogs, gutting should
be enough.
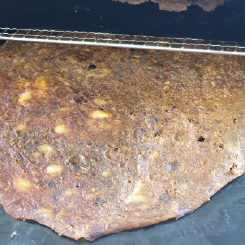
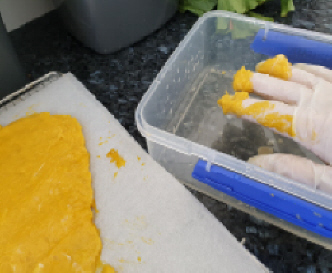
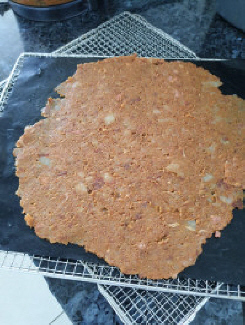
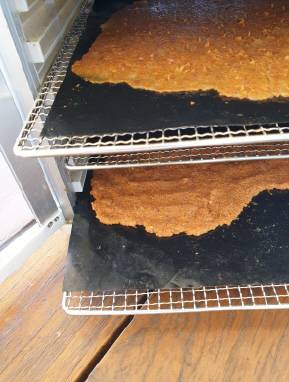
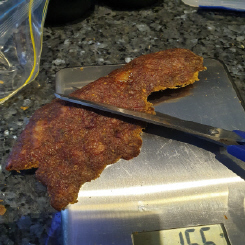
Top left pic is what the meat mix looks like after a little over 2 hours in the dehydrator. The top is now dry
enough for you to flip the mix over and place upside down on the metal tray
before gently peeling off the silicon or baking paper. Fish mixes take a bit longer as
fish is usually wetter to start with. If you tear it into pieces it
will dry even faster. You can see the smaller pieces in the dehydrator in
the picture in the middle above.
The reason you flip and remove paper is that mix dries more quickly when air
can flow through the tray. Moving examples are shown in the videos below. Final results out of the dehydrator after 4
hours or so are also shown in the video links at the bottom of the page. In the
last video you will notice Indie-dog very kindly cleaning up any crumbs that
fall on the floor as Mum takes the trays out.
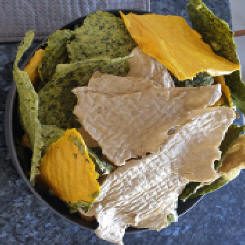
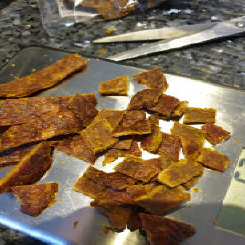
The picture above far right is a bowl of
yummy fish mix treats before Mum breaks them into smaller pieces and freezes in
bags so they don't go bad before we get to eat them!
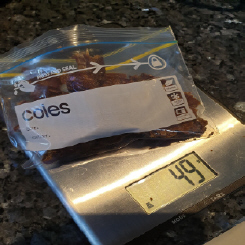
Mum weighs our treats into small zip lock
bags so she knows how much food Mollydog (also known as "Pudding" since she's
been desexed!) is getting in the form of treats - which is then deducted
from what she gets for her dinner.
The thicker slabs are cut up into more uniform pieces for training
sessions. Mum finds it easier to use kitchen scissors than a knife. The
thinner, more brittle ones are either left in big pieces for "extra special"
treats - like when we've just had a bath or been groomed - or broken into little
pieces to be "every day" treats.
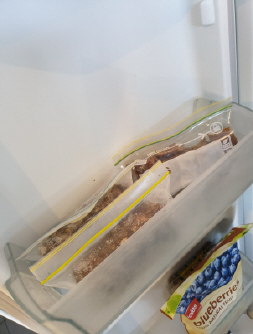
Then all the treats go
into the freezer until it's time for us to get them. In summer we love them still frozen (actually we gobble them down still frozen in winter too!).
Treats will defrost very quickly once removed from the freezer, so only take them out when about to
use the pack - remember, no preservatives means they have a finite life.
Back to Top
Links Below are to MP4 Movies
Taken at
Various Stages During the Drying Process
|
2 Hours Thin Slab
| 2 Hours Thick
Slab |
Completed Treats
last update
07/11/2024
|